
Written by Lauren Sena
I’ve always been infatuated by dream catchers and love how different one can be from the other. Creating a dream catcher with all the intricate webbing and pretty embellishments can be time consuming, so I came up with a simple version that is great for kids to make.
It’s the perfect craft for an indoor snow day or a weekend afternoon, and takes about an hour to put together. Don’t forget—these directions are merely a guide. Let your little ones create their own special dream catcher with as many colours, beads and feathers as they’d like!
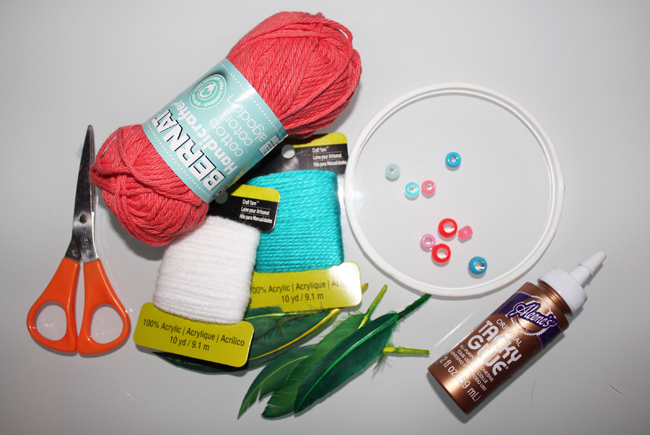 Materials
Scissors
Margarine container or metal ring
Yarn (2-3 colours)
Beads
Feathers
Tacky Glue
Directions
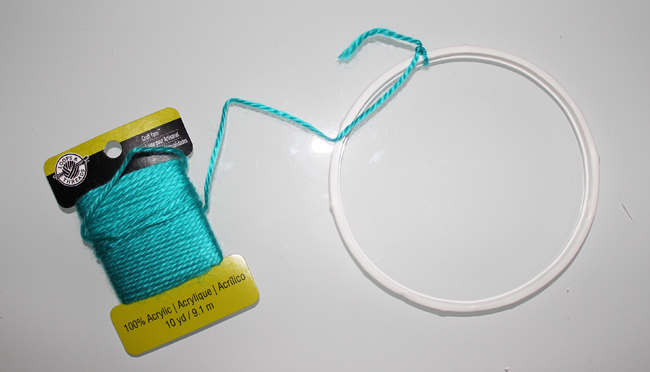
Cut out the outer rim of a margarine container to create a ring. (Optional: use a metal ring or any other circular object.)
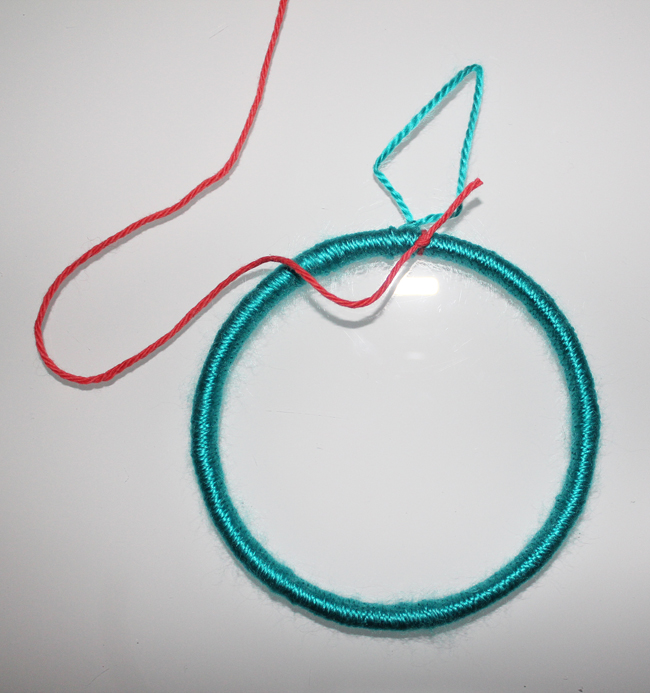
Tie the yarn to the ring with a double knot, leaving about an inch of yarn sticking out at the end. Begin wrapping the yarn around the ring, keeping it tight. It’s easiest to keep the yarn on its original packaging as you wrap in order to prevent knotting.
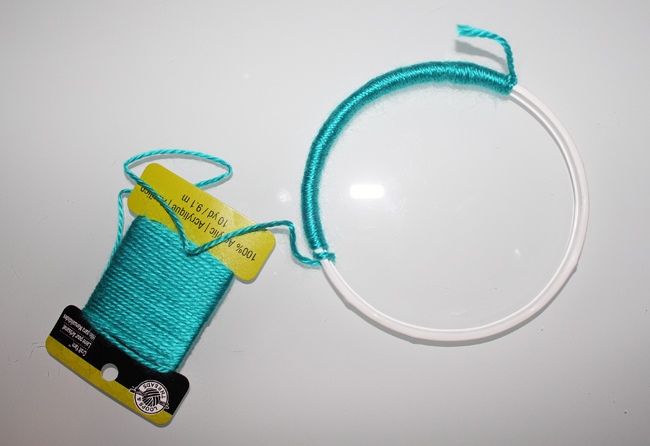 Continue wrapping the yarn until you cover the entire ring. Knot the remaining yarn to the small piece you left out when you started, and then create and tie a loop so that you can hang your dream catcher later on.
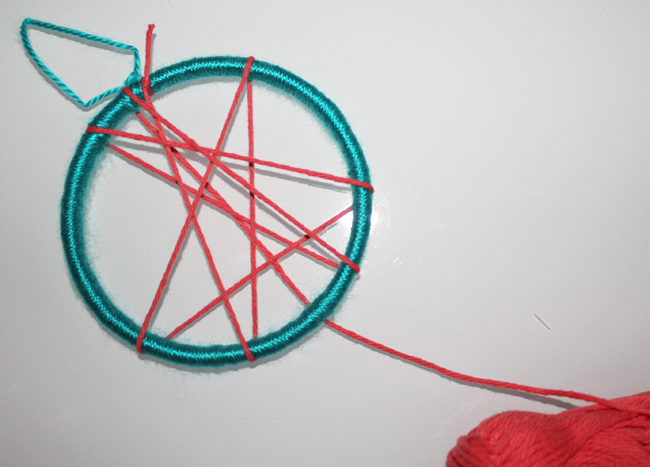
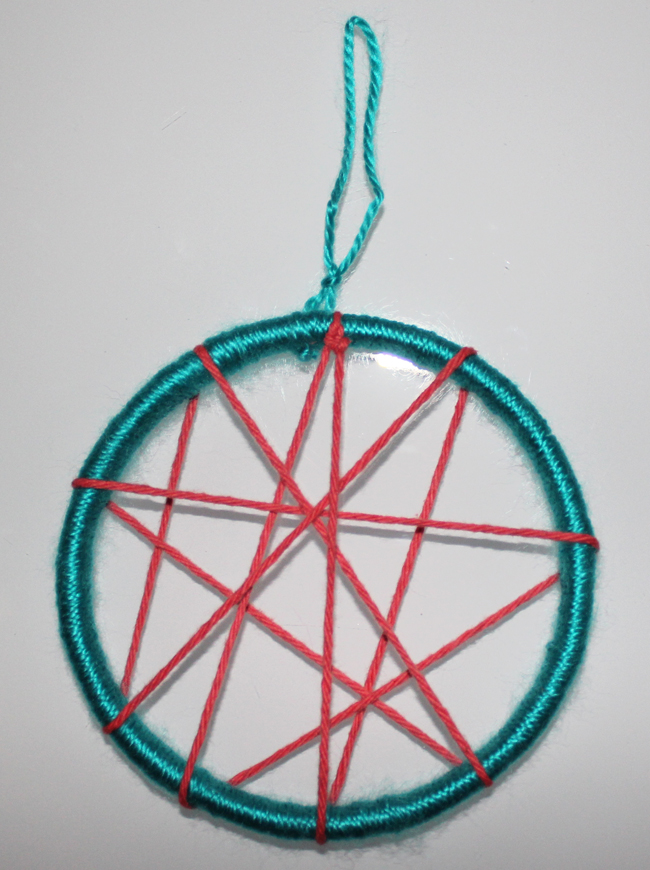
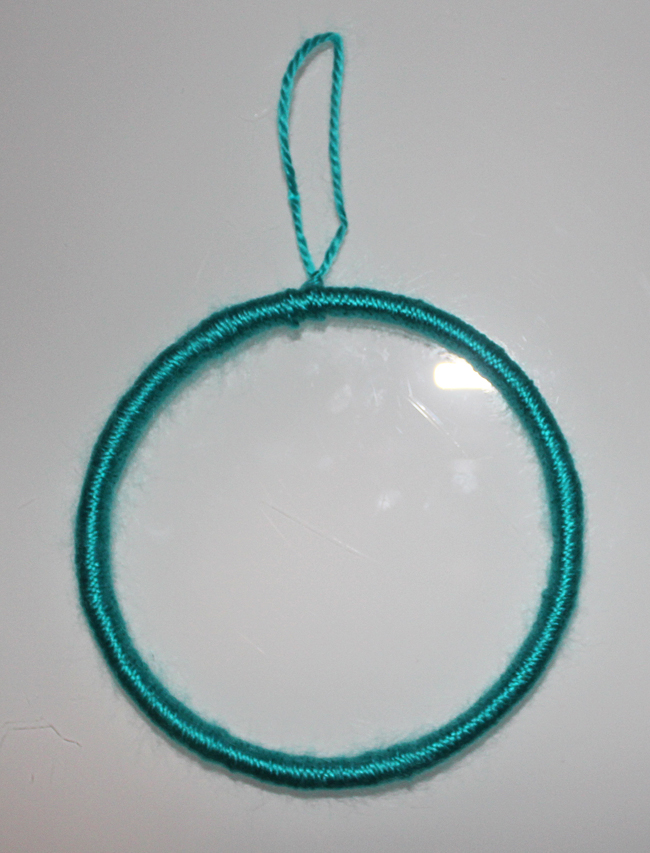 Using a different coloured yarn, tie a double knot at the top of the ring next to the loop, once again leaving about an inch of yarn hanging out of the knot. Wrap the remaining yarn around the outer edges of the ring as many times as you’d like to create the design of your choice. When you are done, secure the yarn by tying it off onto the one-inch piece and cut off any excess ends.
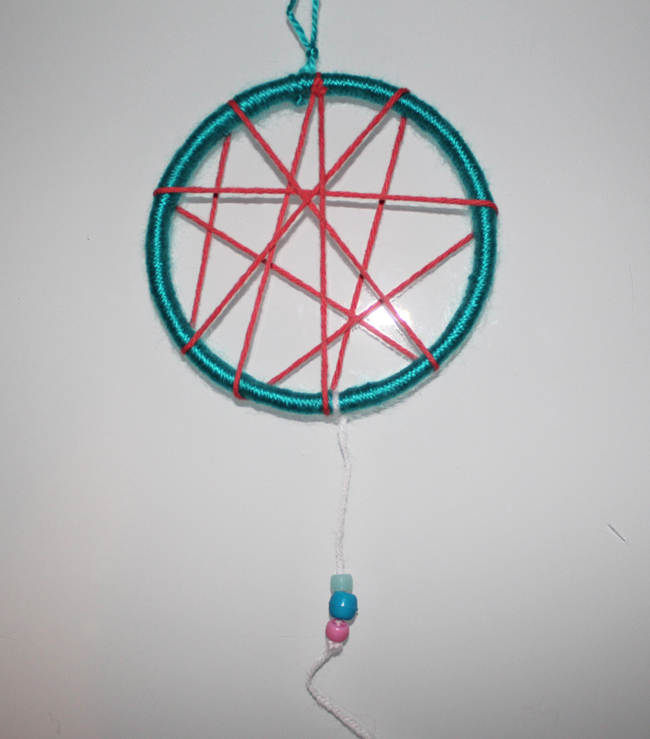
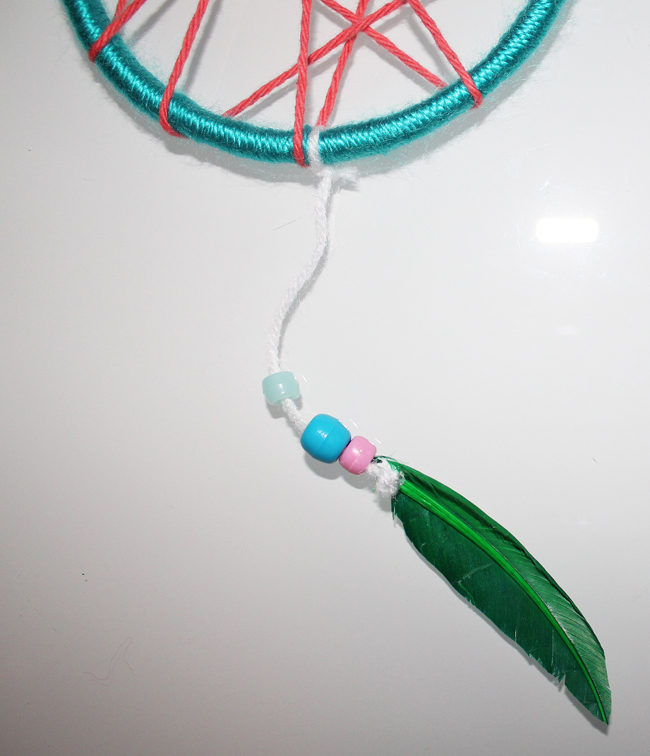
 Cut a piece of yarn that will hang from the bottom of the dream catcher. Tie it to the middle of the bottom of the ring (I found that a triple knot works best) and cut off the excess material. Thread a few beads onto the yarn and tie as many knots as you need to so that the beads will not fall off. Cut off any extra yarn that may be hanging from the knot.
 Insert the top end of a feather into the middle of the holes of the beads. Secure by adding a dab of tacky glue in-between where the knot of the yarn meets the back of the feather. Repeat the last two steps for the two side strands.
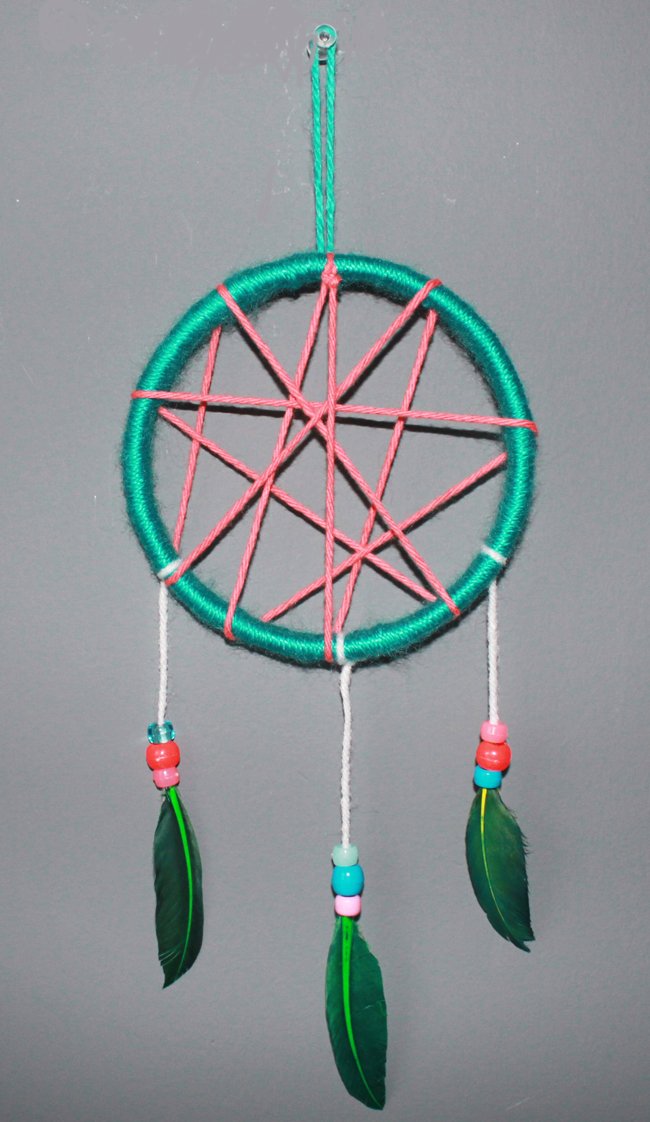
 And… you’re done! A quick and easy craft that kids can do by themselves and proudly display above their beds. Nightmares be gone!
This is a really nice thing to do
same it was so fun
I had so much fun making these dreamcatcher!
I think we adults will pre-wrap the rings.
This comment made me smile because I agree! My kids could make the hoop, but I can’t!
Cool, love how they turned out. Everything you can find in your home. It made it so so simple.