Broken crayons. These are the bane of any household with small children. I’m sure most people just throw them out, but I am not most people. Wasting makes my skin crawl, so I have a container that I toss all the unwanted nubs and broken bits into when the kids move on to fresh crayons. I’m not even sure where all the crayons come from – I swear I haven’t purchased a box of crayons in the past five years, but there are hundreds of them in my house. I have a few theories on crayon reproduction, but I digress…
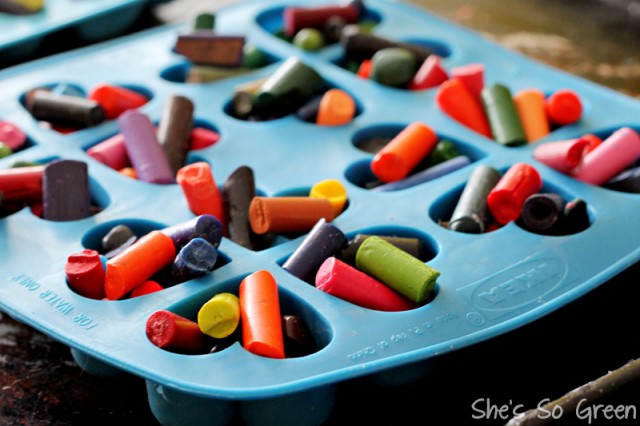
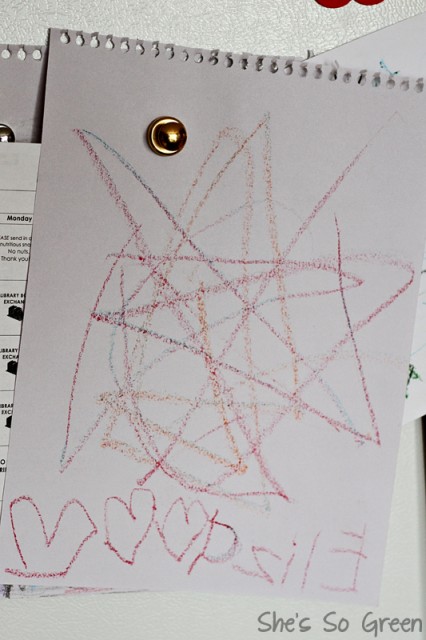
This is not a craft for people who like to have their projects over and done with quickly. This project is a hassle, no doubt about it, from amassing the crayon bits (because I refuse to use perfectly good unbroken crayons!) to prepping them to be melted. It is, however, a great rainy day busy hands project. Everyone can get involved pulling the paper off, breaking the larger pieces down into smaller bits, and filling the silicone trays. And my kids love the marbled crayons they get at the end, they will spend hours doodling on blank paper just to see how the colours change.
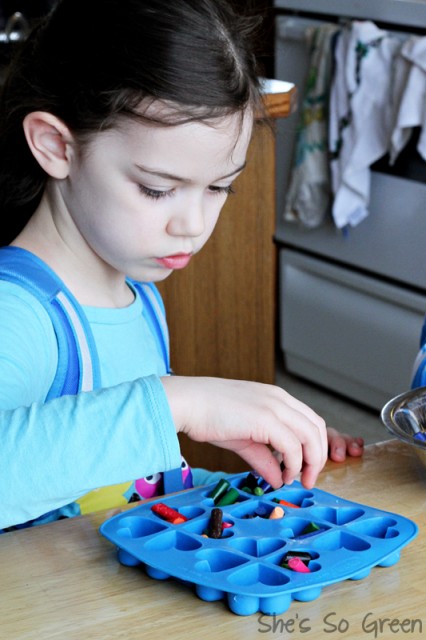
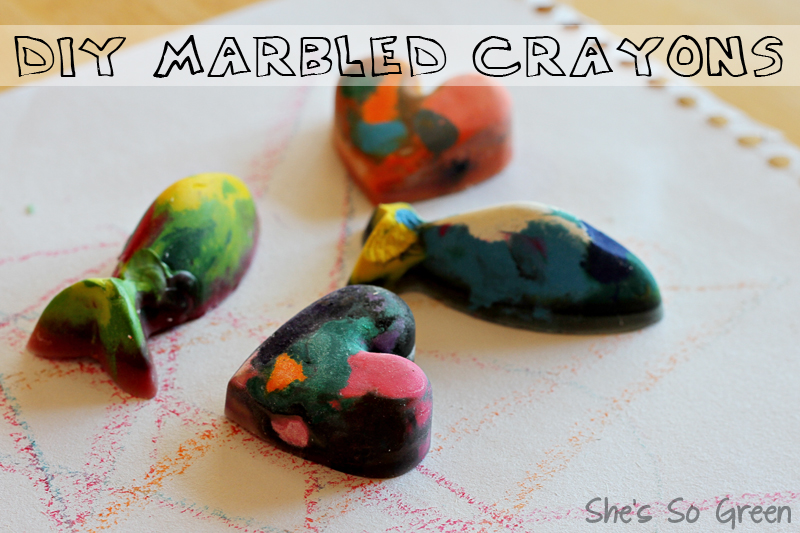
This is a pretty simple project, all you need is silicone ice trays (the Ikea ones are my favourites!) and busted-up crayons. A tip: if you like your molds for ice, buy duplicates – they will stain. Break the crayons into small-ish pieces as best you can, and place the pieces in the molds. Don’t worry about a few bits sticking up here and there, they’ll all melt down. Place the molds on a cookie sheet (to catch spills and for ease of carrying) and into a preheated 250F oven for 5-10 minutes. Your crayons are done when they are almost completely melted – they should be mostly liquid, with maybe a few nubby bits still sticking out. You don’t want to over-melt them and have the colours run together into a muddy mess, so it’s better to have a few chunky bits than a big brown crayon. Once you’ve got them out of the oven, let them cool on the counter until they’re completely cooled and solid before attempting to remove them. Or, if you’re impatient like my kids are, stick them in the freezer to expedite the process! To remove them from the molds, run the bottoms of the molds under hot water to soften the silicone tray and loosen the crayons. Then carefully pop them out with your fingers. Be warned, molds with narrow parts (like the fish) may break. They’re still fun to colour with, but the tails come off pretty easily if you’re not careful.
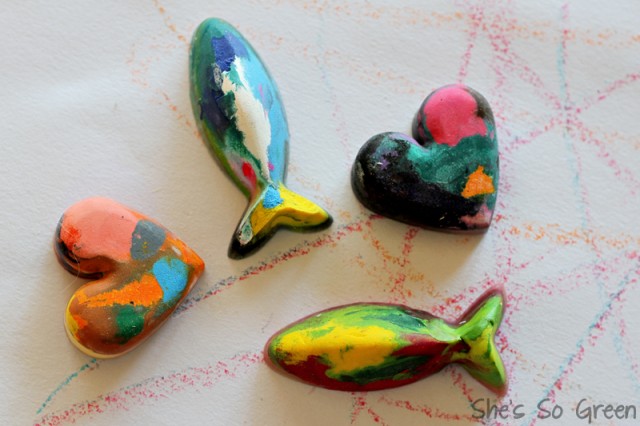
And now you have a bunch of fun new crayons that your kids will love!
I have a question can you make marbled crayons by just putting the crayons in hot water ?
Great idea, Samantha – I LOATHE all those waxy little bits strewn all over the place… 🙂
love the use of the ice cube trays too!